Barn Quilts
Note: This post may contain affiliate links. That means we may earn a commission at no additional cost to you if you purchase via our links. Not all links are affiliate links. I only recommend products I use and trust. As an Amazon Associate, I earn from qualifying purchases.

One of the blogs I follow, the Bayfield Bunch, just posted photos of quilt blocks on barns that they have seen. Click on the link below to visit their google photos page and see more.
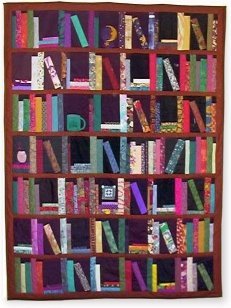
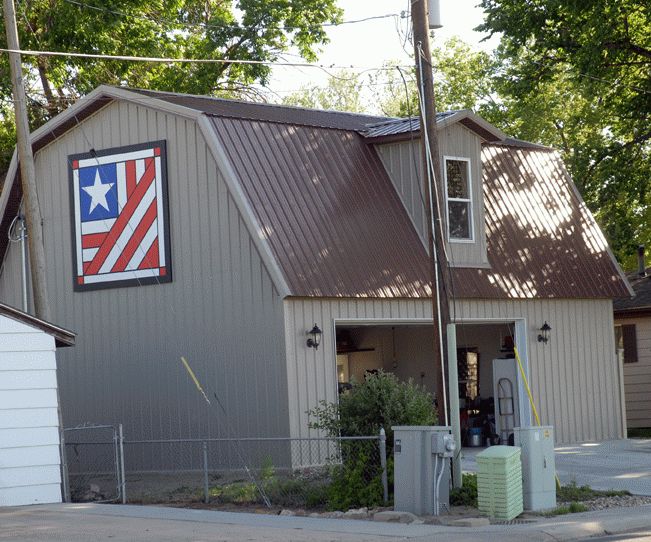
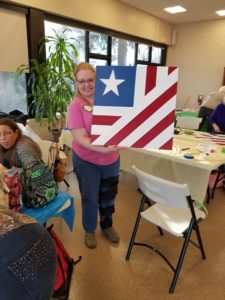
One of our blocks made it to the side of a Colorado garage back in 2007. That’s almost the same thing, isn’t it?
Update January 2019:
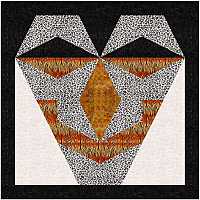
Looks like there will be another one in Schenectady, NY! From the Puppy Girl Designs blog.
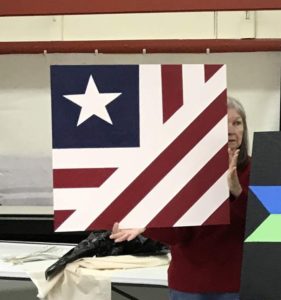
And again in Pensacola, Florida. Picture taken at the Pensacola Modern Quilt Guild meeting. I am thrilled!
Don’t forget to sign up for the newsletter! Once a week, I send updates on quilt-related information I have found while wandering the web. This might be an inspiring article, a tip or tutorial I have discovered (or written), and occasionally exclusive offers & discounts as well as immediate access to the secret page of free patterns, guides, and printables. You can follow my page on Facebook, or join the Make Believe Quilters group, too.