All Kinds of Square! A Square-in-a-square Quilt Block Tutorial, Part Two
Note: This post may contain affiliate links. That means we may earn a commission at no additional cost to you if you purchase via our links. Not all links are affiliate links. I only recommend products I use and trust. As an Amazon Associate, I earn from qualifying purchases.
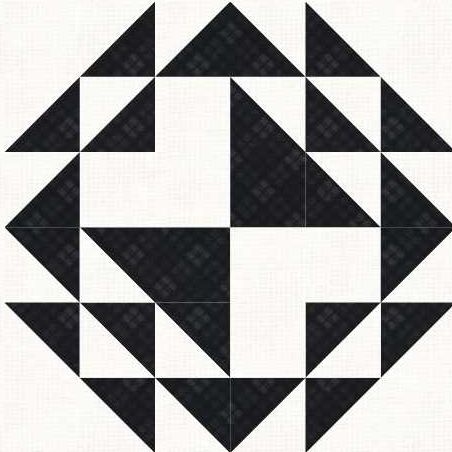
How many different ways are there to make a square-in-a-square quilt block? So far, I have found 10 different methods for making this versatile block, also known as the diamond-in-a-square quilt block. Set it on point a second time and it becomes the economy block! Here are four more ideas. How many variations can YOU find?
Here is Square in a Square Tutorial Part One
This is Square in a Square Tutorial Part Two
Here is Square in a Square Tutorial Part Three
A Square in a Square block is basically a square set on point, so all the tips that apply to setting a quilt or block on point also apply to a Square-in-a-Square block.
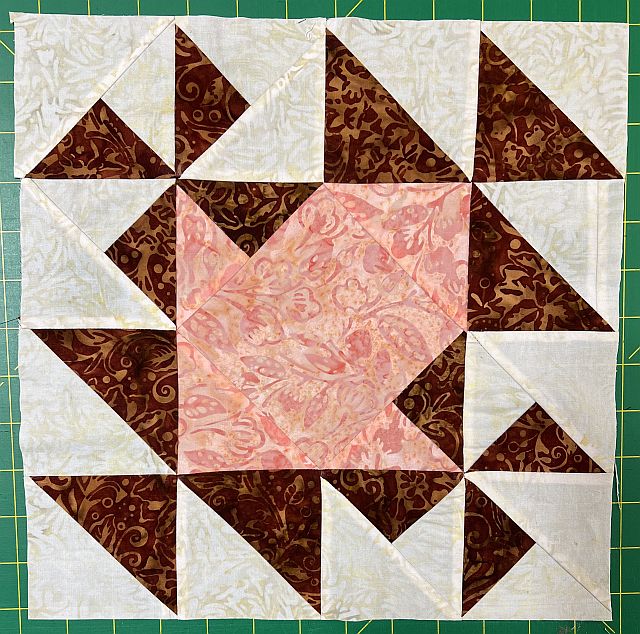
Method # 4: Strips on the Square
This next method could be thought of as a combination of Method # 1 and Method # 2. It involves sewing strips or scraps on the center square and then squaring up the block using any square ruler.
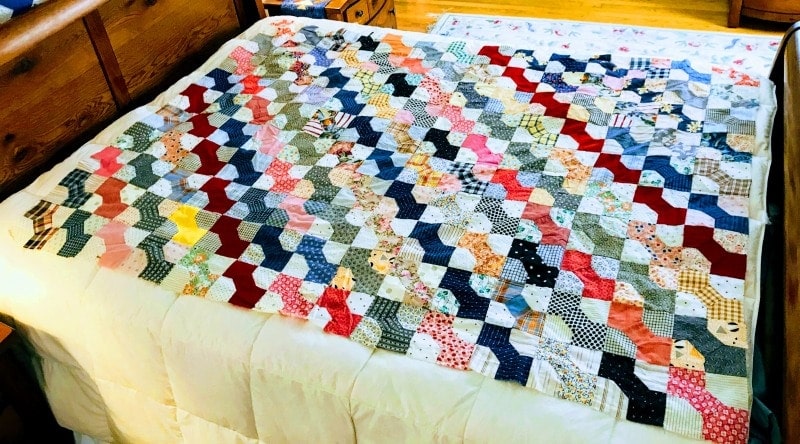
If you are going to make a quilt of illusion like Square Deal, you will need to plan out your blocks ahead of time.
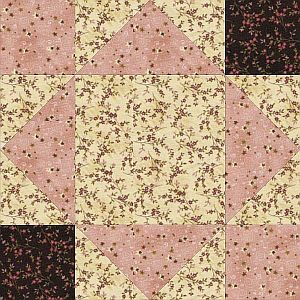
Method # 5: Templates
Here is another very traditional method: using templates. You could actually draw these yourself on a piece of template plastic, or print them out using this PDF from Generations and paste them to a cardboard surface. If you want to be REALLY traditional about it, use the back of a cereal box.
If you happen to have Electric Quilt, you can ask the program to provide you with a print for either Method # 5 or Method # 6. The beauty of EQ is that it will not only print out any size you ask for, it will also give you rotary cutting directions for any size. There is a bit of a learning curve, but once you have mastered it, you will be surprised at how fast you can create your own project.
If you have an Accuquilt GO, you can order dies that will cut the center square and the triangle corners in any size that you need. I like how quick, easy and accurate those dies are. If you are going to make a lot of square-in-a-square blocks, I would recommend the Qube so that you get all the shapes you need for the size of block that you will be making in the future.
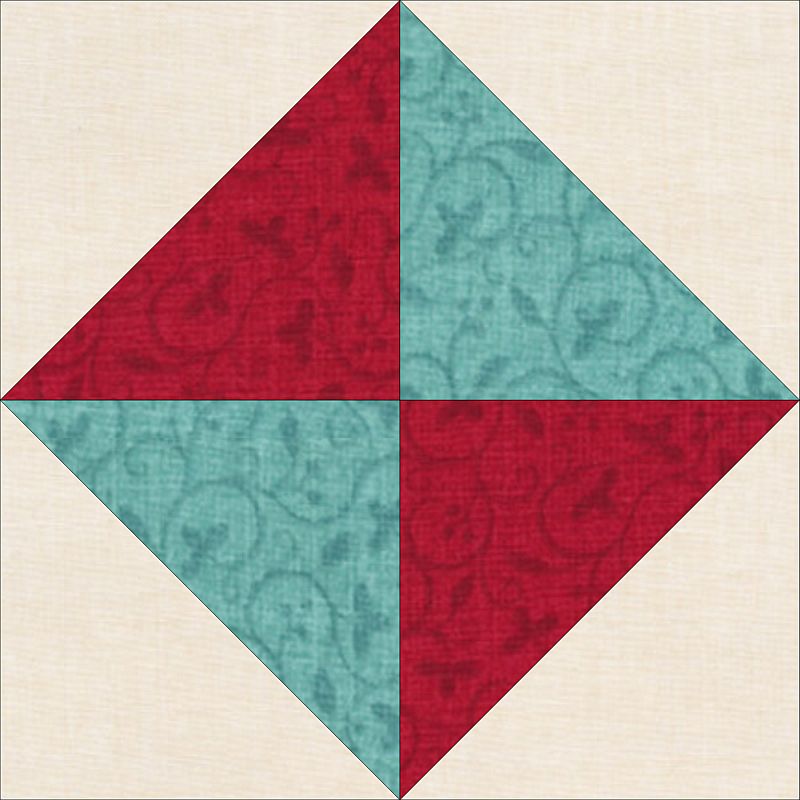
Method # 6: Half Square Triangles
A Square in a square block can be easily made using Half-Square-Triangle Quilt Blocks. There are over 20 different ways to make HSTs – far too many to go into here! But I do have a tutorial at SewHelpMe.info.
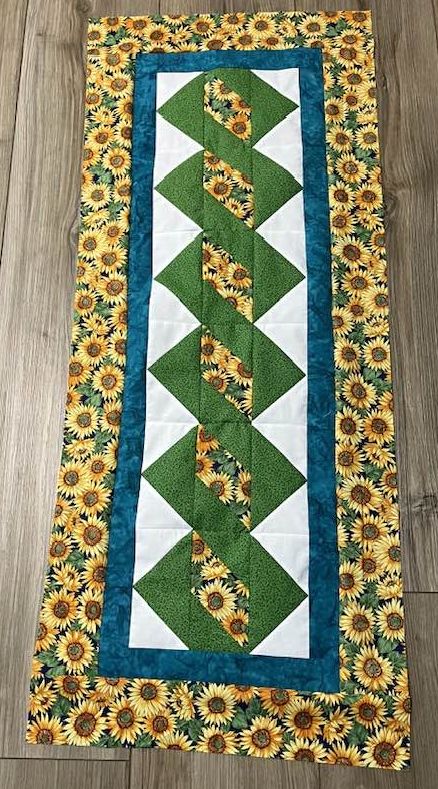
The free pattern Let’s Go Fly a Kite is made from these Square in a Square Quilt blocks.
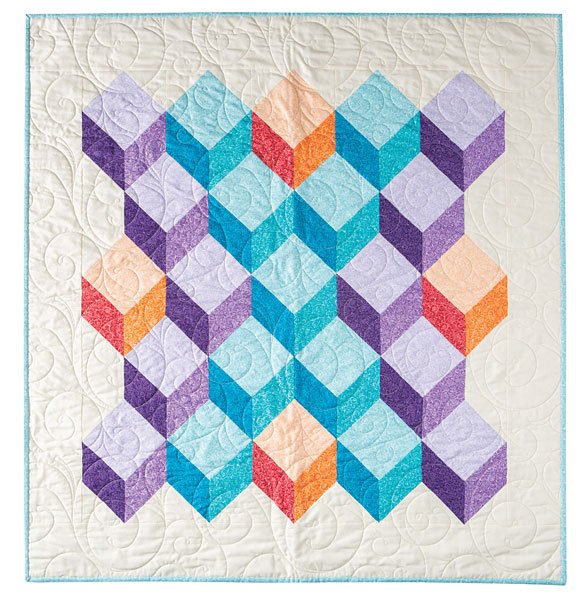
Method # 7: Three Dimensional
I am going to cheat a little with this one. The three-dimensional Square-in-a-Square block is just the bow tie block with a larger center. Subscribers can get the technique sheet for free – see the subscription box below.
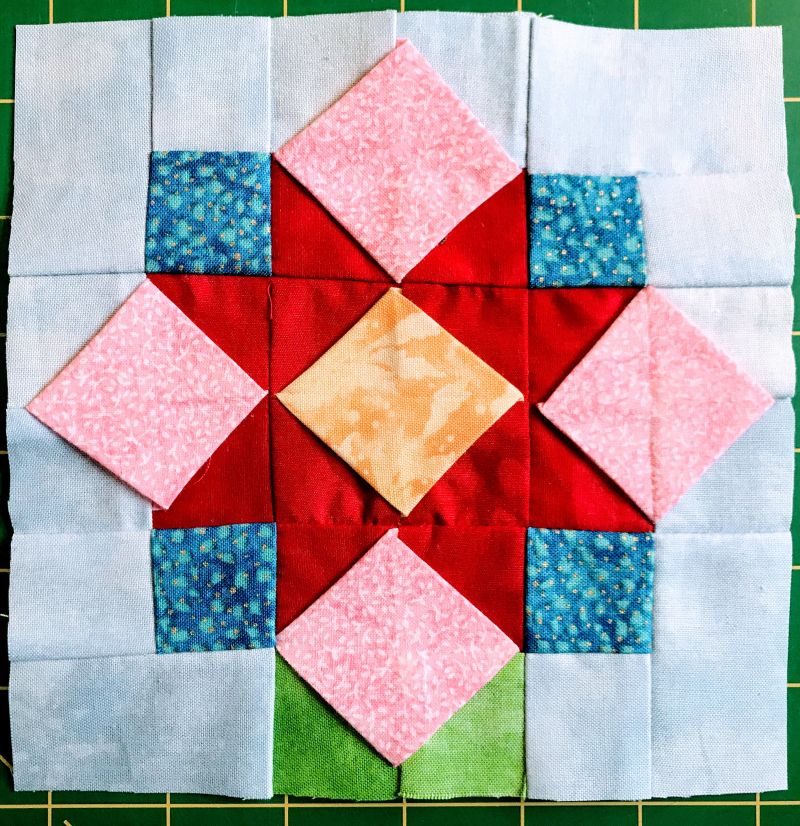
I used this method in last year’s Seams to Be Sew Rowalong if you would like to see it in action. Do you see the five square-in-a-square blocks that make the flower?
The last four methods will be in next month’s tutorial. Stay tuned.
Here is Square in a Square Tutorial Part One
This is Square in a Square Tutorial Part Two
Here is Square in a Square Tutorial Part Three
Please add moc.hsadparcs@sirk to your contacts list to make sure you get the confirmation message. Drag the confirmation message from the Promotion tab to the Primary tab if you use Gmail.
If you are already a subscriber, it’s okay to fill out this form. You won’t be put on the mailing list twice.