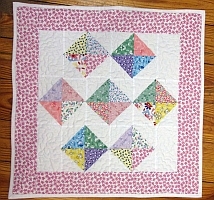
Round the Mountain Mini Quilt Mystery, Clue Four: HST Nine-Patch Quilt Block
Note: This post may contain affiliate links. That means we may earn a commission at no additional cost to you if you purchase via our links. Not all links are affiliate links. I only recommend products I use and trust. As an Amazon Associate, I earn from qualifying purchases.
Making a Nine-Patch Quilt Block Using HSTs
Assemble:
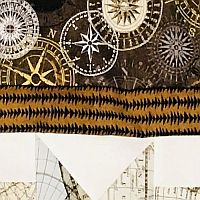
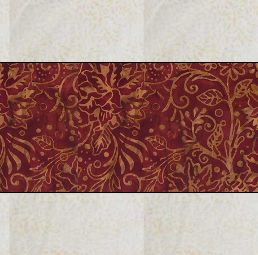
(20) 2-1/2″ charm HSTs, chosen randomly
(16) 2-1/2″ tan accent HSTs (that’s my green plaid fabric)
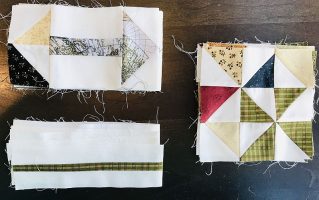
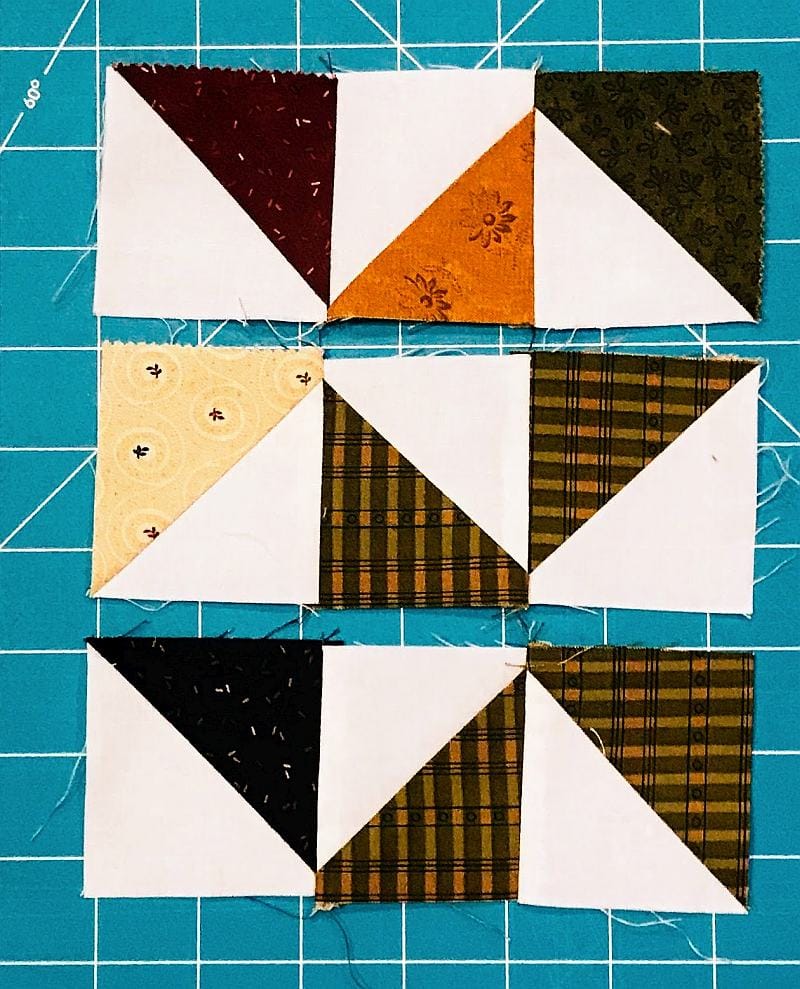
Sew (3) charm HST blocks as shown in the first row below. Press all the seams to the left. Your row should measure 6-1/2″ long. Make (4.)
Sew (1) charm HST and (2) tan accent HST blocks as shown in the second row below. Press all the seams to the right. Your row should measure 6-1/2″ long. Make (4.)
Sew (1) charm HST and (2) tan accent HST blocks as shown in the third row below. Press all the seams to the left. Your row should measure 6-1/2″ long. Make (4.)
Sew the (3) rows into a block as shown to the. Because of the way you pressed your block seams, they should just nestle at the intersections. Use pins to encourage this behavior.
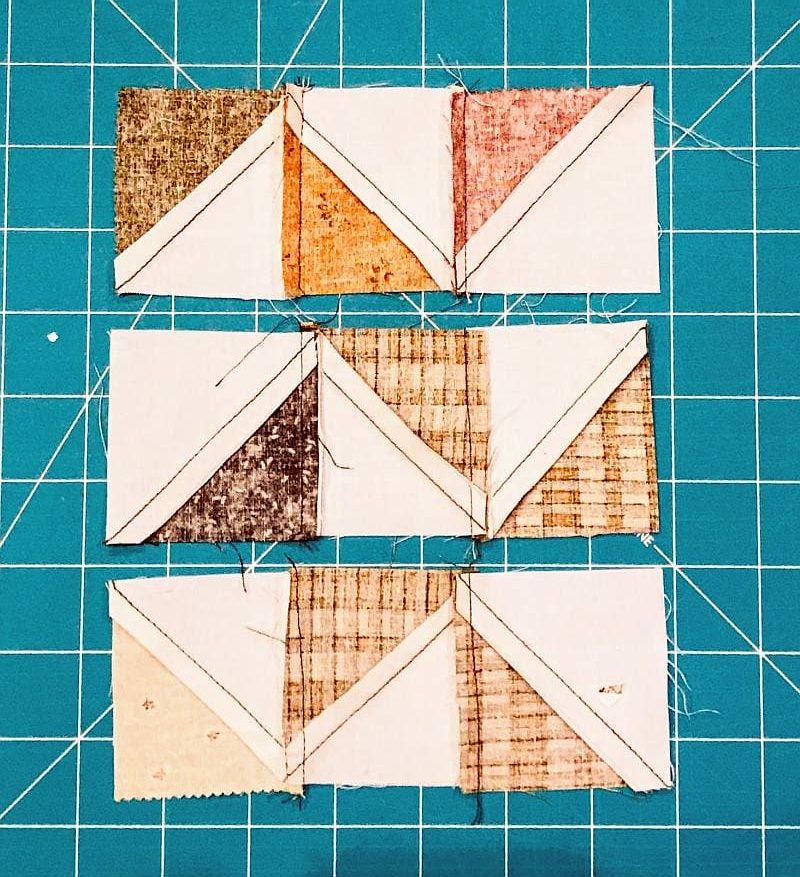
Press the row seams up, away from the bottom tan accent row. This block should measure 6-1/2″ square. Press and square it up if necessary. Make (4.)
Assemble:
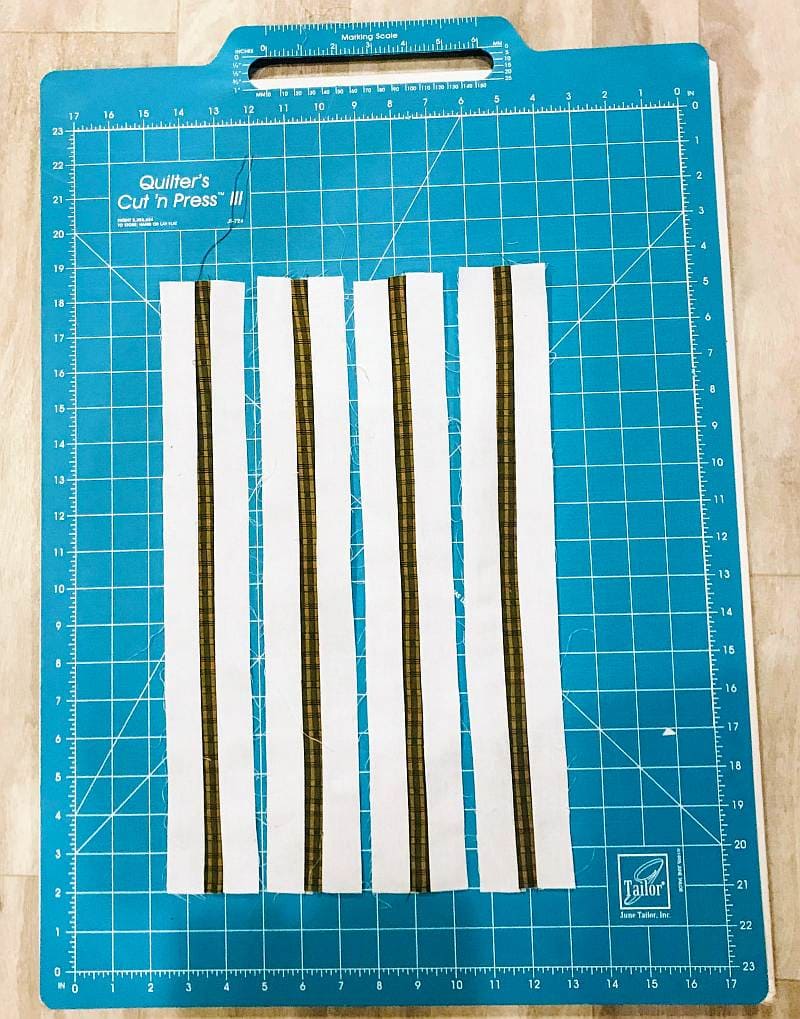
(8) 16-1/2″ x 1-1/4 background strips
(4) 16-1/2″ x 1″ tan accent strips
Sew the 16-1/2″ x 1″ tan accent strip between (2) 16-1/2″ x 1-1/4 background strips. The picture below shows the back of the unit. Notice how the two 1/4″ seams completely cover the thin stripe on the front.
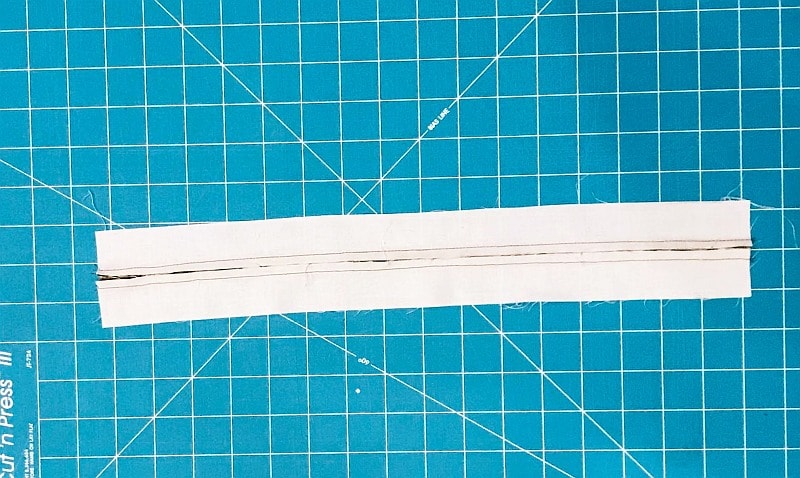
Press to the tan strip. Your three-strip-set should measure 2-1/2″ wide. Make (4) sets.

Round The Mountain Clues
- Introduction
- Fabric Requirements and Cutting Directions
- Clue One: Preparing the Charm Squares.
- Clue Two: Making HSTs and QSTS
- Clue Three: Creating a Pieced Border
- Clue Four: Nine-Patches
- Clue Five: Adding the First Border
- Clue Six: How to Miter a Border
- Clue Seven: The Grand Finale
- Picture Page
Questions or comments? Click on Leave a Reply below or Leave a Comment in the upper left hand corner.
Don’t forget to sign up for the newsletter! Once a week, I send updates on quilt-related information I have found while wandering the web. This might be an inspiring article, a tip or tutorial I have discovered (or written) and occasionally exclusive offers & discounts as well as immediate access to the secret page of free patterns, guides, and printables. You can follow my page on Facebook, or join the Make Believe Quilters group, too.